You may be faced with dead zones in your home or office and you are wondering how you can get rid of them. So in order for you to stop dealing with the frustration that comes with having dead zones around, you need this. Touch up on your network performance with the Belkin F9K1106zb Dual-Band Wireless Range Extender setup. If you are wondering how you can successfully complete the setup, you will get the sure setup guidance that will be needed. In addition to the benefits of installing the Belkin F9K1106zb, you can increasingly boost productivity in your work and get results faster and more comfortably. By using this guide, you’ll be able to master the art of making an easy and quick WiFi installation.
How to complete the Belkin F9K1106zb Setup
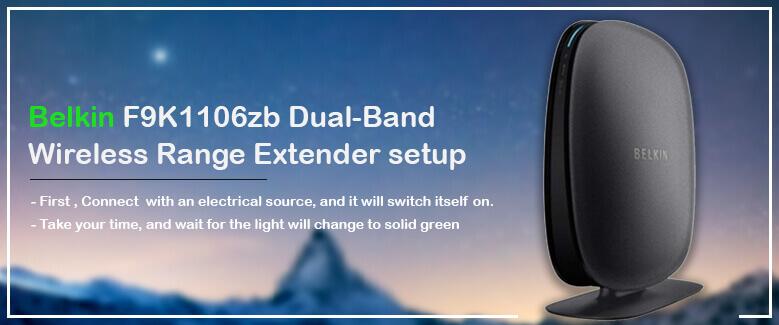
- First , Connect your Belkin extender with an electrical source, and it will switch itself on.
- Take your time, and wait for the light will change to solid green
- Start your computer and navigate to the settings for your network. When you are there, enable the “Wifi” option and then search for the Belkin network.
- Now , you must join your computer with Belkin. Belkin network. Enter the default password for the Belkin extender.
- After connection has been completed, the site will redirect you to Belk’s login page.
- Note that if you cannot access the login page automatically, then you have to access it manually. You can do this by typing the default web link http://belkin.range into the Web Address of your browser.
- You should now have arrived at the page for setting up. Follow the prompt setup instructions until the final step to complete the installation of the extender.
- Then, choose your wireless extender’s name, and connect to it by using the login information of the extender that you are using.
- Be certain that you have an in-depth look at every change you’ve made. If you are satisfied then save your modifications to complete the Belkin F9K1106zb Setup.
Complete the Belkin F9K1106zb login with these steps
For you to complete the setup of your Belkin F9K1106zb Dual-Band Wireless Range Extender, you have to follow some simple login steps. Logging in is the only way to reach the Belkin F9K1106zb setup page to make all the necessary settings and modifications.
- To initiate a Belkin extender login, you must start by connecting your Belkin extender and your smartphone or computer.
- To complete the previously described step, you are going to do it using an Ethernet cable
- Start your browser and type the IP address of the official website.
- Now, you should be on your login screen. Type in the login details and then click “Login”
- If you have successfully logged in you are entitled to complete the setup of your Belkin extender.
How to perform the Belkin F9K1106zb Setup via WPS
It is also possible to complete the setup through the WPS method as long as the Belkin extender and the main extender both have the WPS buttons on them. Therefore, you can consider this method a very fast way to sync your extender and extender together. Although, you have to make sure that you follow the steps carefully. And you can always resort to the manual Belkin extender setup approach if you would like to perform more extensive settings on your Belkin extender.
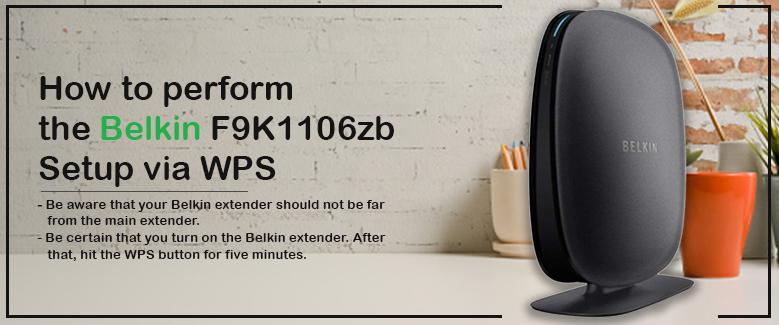
- Be aware that your Belkin extender should not be far from the main extender.
- Be certain that you turn on the Belkin extender. After that, hit the WPS button for five minutes.
- Perform the same task on the main extender that you want to sync with the extender.
- If the connection has been successful, you’ll notice the WPS light turning on.
Easy Belkin F9K1106zb Troubleshooting Tips
Solving all kinds of technical issues is challenging, particularly if the user does not have technical expertise. Users are open to search for rapid and speedy solutions. If you start to observe some oddities in the functions of the Belkin extender? There is no need to ignore it. If you can find some helpful tips for Belkin F9K1106zb troubleshooting, it is possible to resolve the issue.
How to settle connectivity issues with the Belkin F9K1106zb Dual-Band Wireless Range Extender
If a device isn’t connecting with the Internet, this could be very frustrating and also exhausting. After you must have successfully set up your Belkin extender and over time, it begins to show signs of connection problems. You may be thinking what would be the way forward, well, you can follow the troubleshooting tips that can help fix the problem.
- The first thing to explore in fixing this issue involves power recycling. This means you have disconnected the power cord of the device. Then, wait 20 seconds or minutes. Then, plug them to the electrical source.
- Afterwards, you have to attempt to update wireless Drivers. Complete the Belkin F9K1106zb login then, open the Device Manager and choose the “Wi-Fi/Network Driver”. Look for an upgrade. If you cannot find any updates, you can delete the drivers and then install them once more.
- Finally, you may attempt the reset process for your Belkin wireless extender. Find the reset button underneath it, and follow the reset steps.
How to reset Belkin F9K1106zb
If, however, you’ve tried all of the other troubleshooting suggestions but nothing is working. Follow these reset suggestions here. Remember that once you select the reset feature, your extender is reset to default settings.